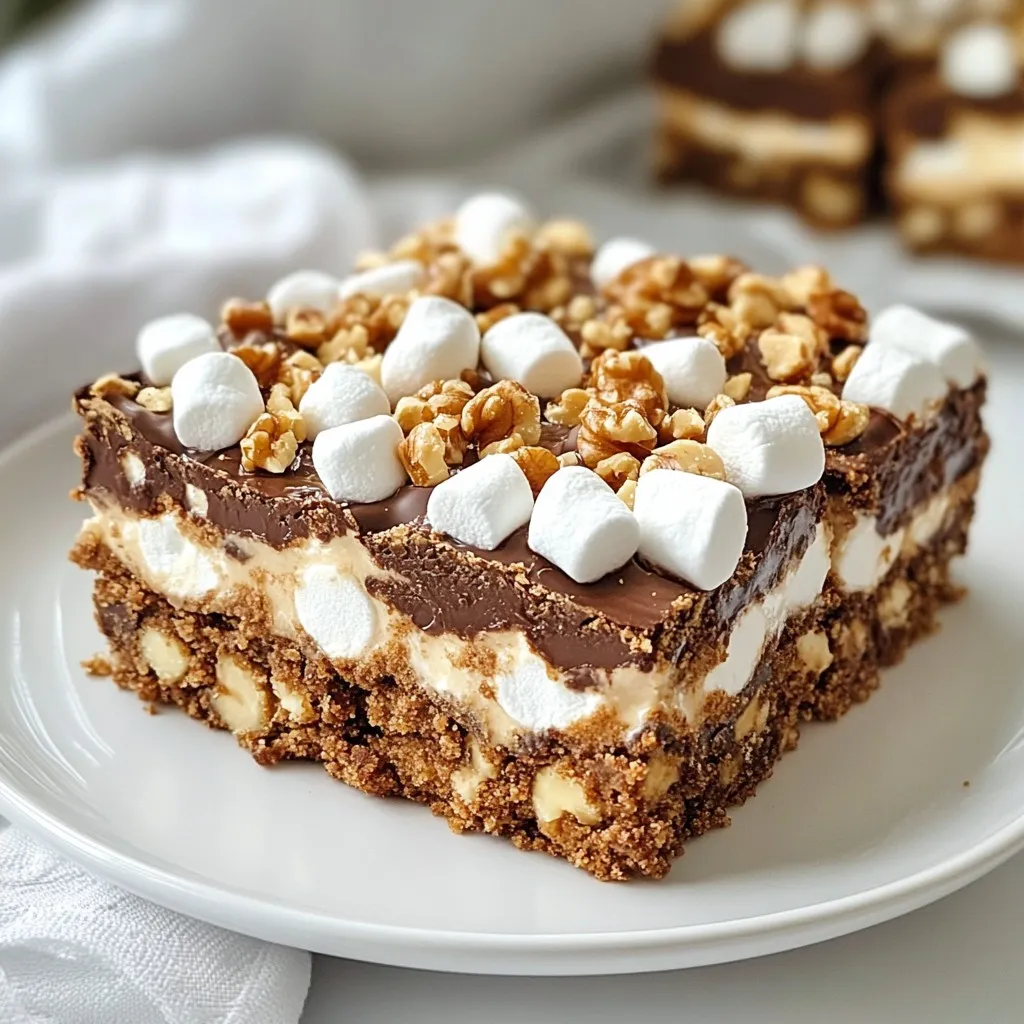
Do you love the sweet, gooey taste of s’mores? You can enjoy that flavor anytime with my easy S’mores Bars! These treats combine graham crackers, chocolate, and marshmallows into a delightful dessert. Perfect for parties, picnics, or a cozy night in, these bars are sure to impress. Let’s dive into the simple ingredients and steps to create this yummy dessert that everyone will love!
Why I Love This Recipe
- Decadent Flavor Explosion: These bars combine the rich flavors of chocolate, marshmallows, and graham crackers, creating a delightful treat that satisfies any sweet tooth.
- Easy to Make: With simple ingredients and straightforward instructions, these magic bars are perfect for bakers of all skill levels.
- Perfect for Sharing: Cut into squares, these bars are great for parties or gatherings, making it easy to serve a crowd.
- Customizable: You can easily add your favorite nuts or swap ingredients to suit your taste, making each batch uniquely yours.
Ingredients
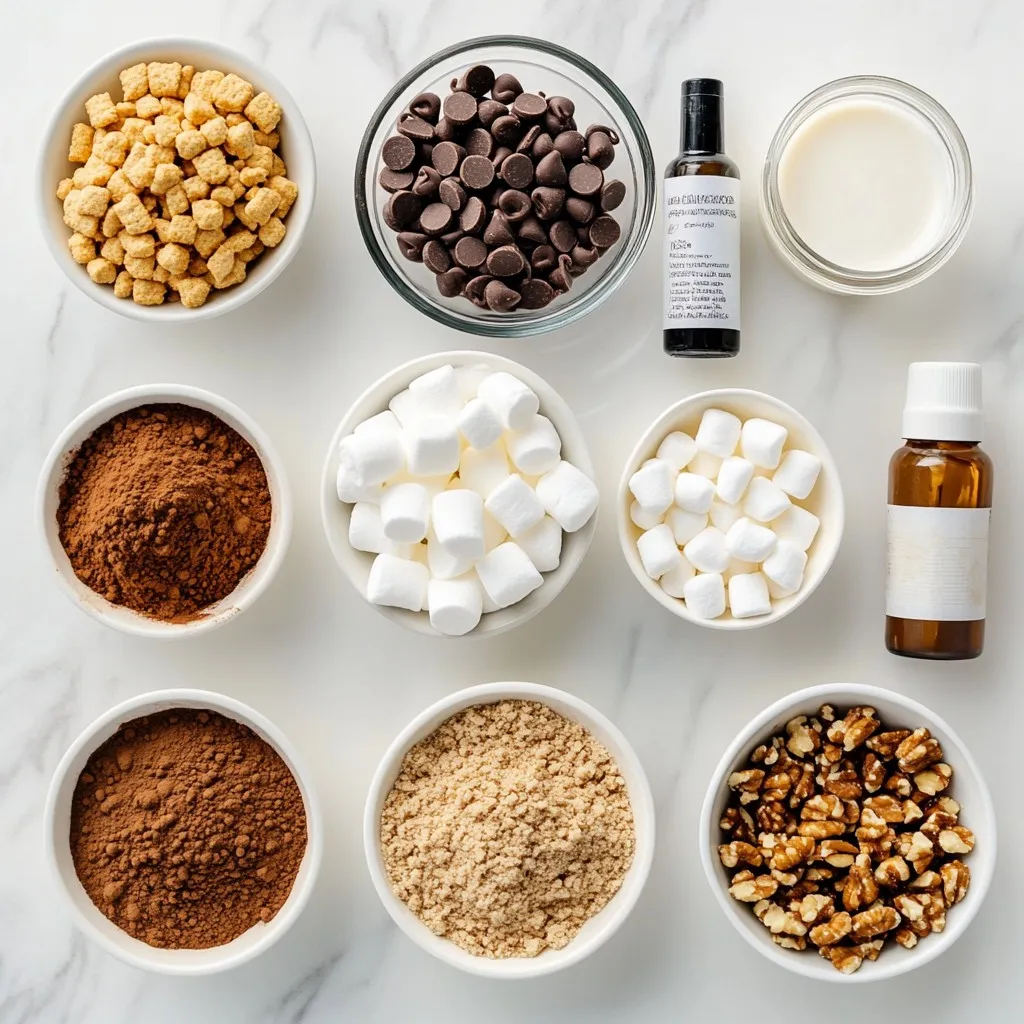
Complete List of Ingredients
– 1 ½ cups graham cracker crumbs
– ½ cup unsweetened cocoa powder
– ½ cup unsalted butter, melted
– 1 cup sweetened condensed milk
– 1 cup semi-sweet chocolate chips
– 1 cup mini marshmallows
– ½ cup crushed walnuts (optional)
– ½ teaspoon vanilla extract
Gather these ingredients before you start. Each one plays a key role in creating the perfect S’mores Bars. The graham cracker crumbs give the base its classic taste. The cocoa powder adds a rich chocolate flavor. Using melted butter helps bind the crust together. Sweetened condensed milk is the secret to a gooey texture. The chocolate chips and mini marshmallows provide that iconic S’mores taste we all love. If you enjoy a bit of crunch, crushed walnuts are a tasty option. Finally, a touch of vanilla extract enhances all the flavors.
Equipment Needed
– 9×9 inch baking pan
– Parchment paper
– Mixing bowls
– Wire rack
Make sure to have the right tools ready. A 9×9 inch baking pan is perfect for these bars. Lining it with parchment paper helps with easy removal later. Use mixing bowls to combine your ingredients. A wire rack is essential for cooling the bars completely. This setup makes the baking process smooth and easy.
Step-by-Step Instructions
Preparing the Baking Pan
– Preheat your oven to 350°F (175°C).
– Line a 9×9 inch baking pan with parchment paper.
– Leave some paper hanging over the edges for easy removal.
Making the Crust
– In a bowl, mix 1 ½ cups of graham cracker crumbs with ½ cup of cocoa powder.
– Pour in ½ cup of melted unsalted butter.
– Stir until the mixture feels like wet sand.
– Press this mix firmly into the bottom of your pan.
Assembling the Bars
– Drizzle 1 cup of sweetened condensed milk over the crust.
– Spread 1 cup of semi-sweet chocolate chips evenly on top.
– Add 1 cup of mini marshmallows.
– If you want, sprinkle ½ cup of crushed walnuts on top.
Baking the S’mores Bars
– Bake the crust for 10 minutes.
– After that, bake the bars for 15 more minutes.
– Watch for golden brown marshmallows on top.
Cooling and Serving
– Let the bars cool completely in the pan.
– Use the parchment overhang to lift them out.
– Cut into squares and enjoy!
Tips & Tricks
Best Practices for Baking
To get an even bake, first, preheat your oven well. This step ensures the bars cook uniformly. Always use a 9×9 inch pan lined with parchment paper. This makes removal easy. After pressing the crust in the pan, make sure it is level. Use a flat spatula to smooth it out. This helps the bars bake evenly.
Enhancing Flavor and Texture
You can boost flavor by using flavored chips. Try butterscotch or peanut butter chips for fun twists. Mix in different nuts, like pecans or almonds, for added crunch. You can even add a sprinkle of sea salt to enhance the sweet taste. Each change adds a unique touch to your S’mores Bars.
Presentation Ideas
For a great look, serve the bars on a colorful plate. Top them with extra mini marshmallows for flair. You can also drizzle chocolate sauce over the bars. This adds a rich taste and a lovely look. Pair them with warm chocolate sauce for dipping. Your guests will love this extra treat!
Pro Tips
- Use Fresh Ingredients: Ensure your chocolate chips and marshmallows are fresh for the best flavor and texture.
- Experiment with Flavors: Consider adding a pinch of sea salt or a dash of cinnamon to the crust for an extra layer of flavor.
- Cooling Time Matters: Allow the bars to cool completely before cutting to avoid a messy slice and to ensure they hold their shape.
- Storage Tips: Store leftover bars in an airtight container at room temperature for up to a week, or refrigerate for longer freshness.
Variations
Flavor Variations
You can play with flavors in S’mores Bars. One fun choice is adding peanut butter chips. They add a rich, nutty taste that pairs well with chocolate. Just mix in about half a cup when you layer the chocolate chips.
Another great option is swapping semi-sweet chocolate for white chocolate chips. This change makes the bars sweeter and adds a nice twist. Use the same amount, one cup, for a creamy texture that melts perfectly.
Dietary Modifications
If you or someone you know has dietary needs, you can still enjoy these bars. For gluten-free options, use gluten-free graham crackers. They work just like regular ones. This small change keeps the bars tasty without gluten.
For a vegan version, swap sweetened condensed milk with coconut milk or a plant-based alternative. Use vegan butter instead of regular butter. These swaps keep the bars creamy and delicious while making them plant-friendly.
Seasonal Variants
Seasonal ingredients can make your S’mores Bars special. For fall, add pumpkin puree into the mix. It adds warmth and flavor that fits the season. You can also use eggnog during the winter holidays for a festive twist.
For themed decorations, think about how to dress up your bars for holidays. For Halloween, add spooky sprinkles or chocolate ghost shapes. For Christmas, top with crushed peppermint or red and green sprinkles. These fun details make your dessert stand out at any gathering.
Storage Info
Best Practices for Storing S’mores Bars
To store your S’mores Bars, you need to keep them fresh. Wrap them tightly in plastic wrap. This keeps air out and prevents them from drying. You can also use an airtight container. Choose one that fits the bars well, so they don’t move around. If you stack them, place parchment paper between layers. This stops them from sticking together.
Shelf Life
S’mores Bars can last about a week at room temperature. If you want them to last longer, freeze them. Wrap each bar in plastic wrap, then place them in a freezer bag. They will stay good for up to three months. When you’re ready to eat them, thaw them in the fridge overnight. You can also warm them up in the microwave for a few seconds to enjoy that melty chocolate and gooey marshmallow.
FAQs
How do I keep S’mores Bars from becoming too sticky?
To keep S’mores Bars from becoming sticky, proper cooling is key. After baking, let them cool completely in the pan. Place the pan on a wire rack for airflow. This helps moisture escape. Once cool, cut the bars into squares. Store them in an airtight container. If you stack them, place parchment paper between layers. This prevents sticking.
Can I make S’mores Bars without a baking pan?
Yes, you can make S’mores Bars without a baking pan. Try using a cast-iron skillet instead. Just grease it well before adding the crust. You can also use a large cookie sheet. Just adjust the baking time. Keep an eye on the bars as they bake. You want the marshmallows to brown nicely.
What’s the best way to reheat S’mores Bars?
To reheat S’mores Bars, the oven works best. Preheat it to 350°F (175°C). Place the bars on a baking sheet and cover them with foil. Heat for about 10 minutes. This warms them without making them too soft. If you use a microwave, heat one square for 10-15 seconds. Check to see if it’s warm enough. Enjoy the gooey goodness!
These S’mores Bars are fun to make and easy to enjoy. You’ve learned about the ingredients, steps, and tips to create them. Remember to customize the flavors and toppings for your own twist. Store leftovers well to keep them fresh. Whether for a party or a cozy night in, these bars are a tasty treat. Get ready to impress your friends and family. Enjoy your creatio