Welcome to the world of The Queen’s English scones! In this post, I’ll share a simple and delicious recipe that brings a piece of British charm into your kitchen. With easy steps and helpful tips, you’ll impress family and friends with your perfect scones. Let’s get started and bring these delightful treats to your table! Get ready to bake and enjoy!
Why I Love This Recipe
- Simple and Quick: This recipe requires only 15 minutes of prep time, making it perfect for a delightful treat without much hassle.
- Customizable Ingredients: You can easily add your favorite mix-ins, like raisins or currants, to suit your taste preferences.
- Perfect for Any Occasion: Whether it’s a tea party, brunch, or just a cozy afternoon snack, these scones fit right in.
- Classic Flavor: The combination of vanilla and butter gives these scones a rich taste that pairs beautifully with clotted cream and jam.
Ingredients
List of Required Ingredients
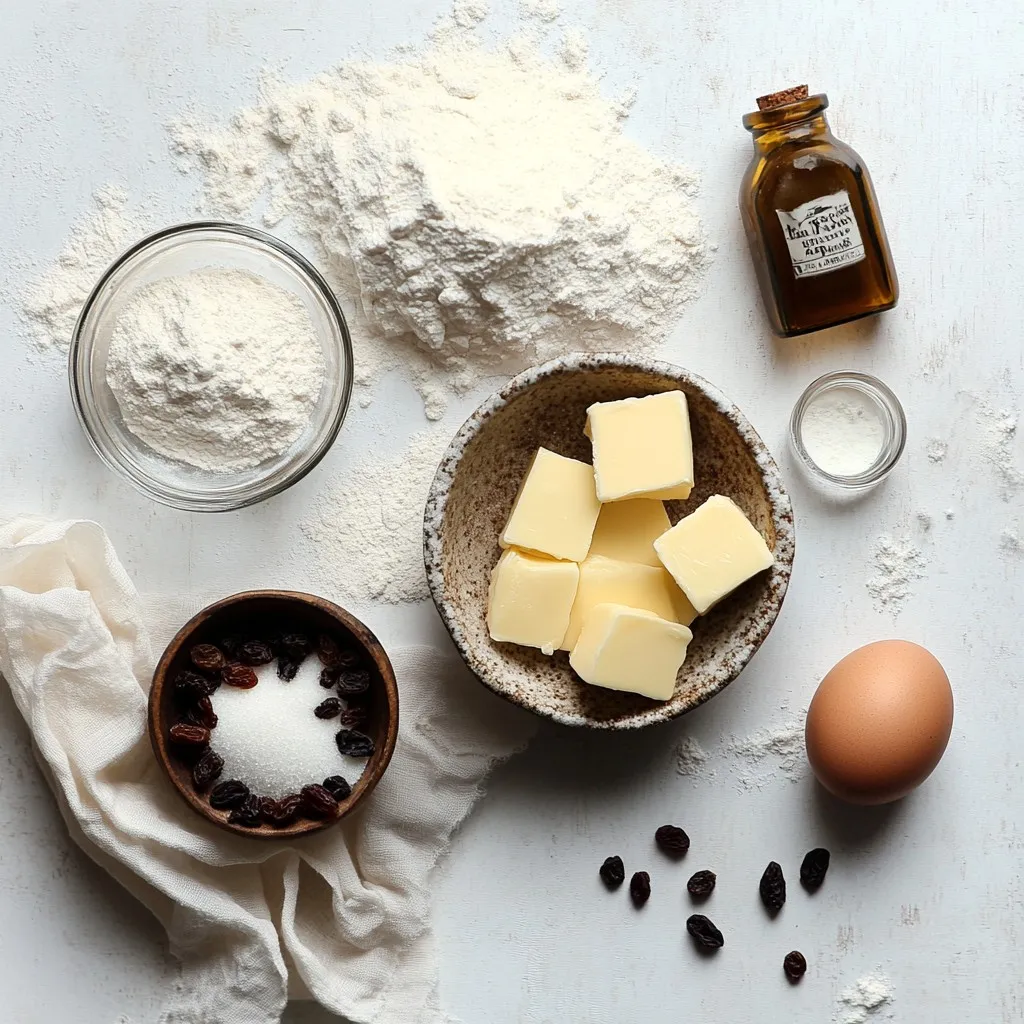
To make The Queen’s English Scones, gather these simple ingredients:
– 2 cups all-purpose flour
– 1/4 cup granulated sugar
– 1 tablespoon baking powder
– 1/4 teaspoon salt
– 1/4 cup unsalted butter, chilled and cubed
– 3/4 cup whole milk
– 1 large egg
– 1 teaspoon vanilla extract
– Extra flour for dusting
Optional Add-ins (Raisins or Currants)
You can enhance your scones with tasty add-ins. Add 1/2 cup of raisins or currants. These dried fruits add sweetness and a lovely texture. They bring a nice touch to your scones, making them feel special. If you want a twist, mix in some chocolate chips instead!
Ingredient Substitutions
If you don’t have one or more ingredients, don’t worry! Here are a few swaps:
– Use whole wheat flour for a nuttier taste.
– Swap granulated sugar for brown sugar for a richer flavor.
– If you need a dairy-free option, use almond milk or oat milk instead of whole milk.
– For a vegan version, replace the egg with a flax egg (1 tablespoon ground flaxseed mixed with 2.5 tablespoons water).
These swaps keep the spirit of the recipe while catering to your needs. Cooking should be fun and flexible!
Step-by-Step Instructions
Preheat the Oven and Prepare Baking Sheet
First, preheat your oven to 400°F (200°C). This step is key for the best scones. Line a baking sheet with parchment paper. This helps the scones not stick and makes cleanup easy.
Mixing the Dry Ingredients
Next, take a large mixing bowl. In it, whisk together 2 cups of all-purpose flour, 1/4 cup of granulated sugar, 1 tablespoon of baking powder, and 1/4 teaspoon of salt. Mixing well is important. This blend forms the base for your scones.
Incorporating Butter into Mixture
Now, add 1/4 cup of chilled, cubed unsalted butter to your dry mix. Use your fingertips or a pastry cutter to rub the butter into the flour. Keep mixing until it looks like coarse crumbs. Make sure there are no large lumps of butter left.
Combining Wet Ingredients
In a separate bowl, whisk together 3/4 cup of whole milk, 1 large egg, and 1 teaspoon of vanilla extract. If you want to add sweetness, stir in 1/2 cup of raisins or currants. This mix will bring moisture to your dough.
Mixing the Dough and Kneading
Pour the wet mix into your dry ingredients. Gently fold with a spatula until just combined. The dough will be a bit sticky but not too wet. Do not overmix; this helps keep your scones light and fluffy.
Rolling Out and Cutting the Dough
Dust a clean surface with a little flour. Place the dough on this surface. Roll it out to about 1 inch thick. Use a round cutter, about 2.5 inches wide, to cut out rounds. Place these on the prepared baking sheet with space between them.
Baking the Scones
Now it’s time for baking! Place the baking sheet in your preheated oven. Bake the scones for 15 to 20 minutes. They should turn golden brown on top when they are done.
Cooling and Serving Suggestions
After baking, take out the scones and let them cool a bit on a wire rack. This helps keep them fluffy. Serve the warm scones with clotted cream and your favorite jam. You can also add fresh berries for a lovely touch.
Tips & Tricks
Achieving the Perfect Scone Texture
To get the best texture in your scones, you must handle the dough gently. Avoid overmixing; this keeps your scones light and fluffy.
– Use cold butter. This helps create flaky layers.
– Fold the dough instead of stirring. This keeps air in the mix.
– Remember, a slightly sticky dough is good. It means your scones will rise well.
Common Mistakes to Avoid
Making scones can be tricky. Here are common errors to watch for:
– Overmixing the dough: This makes scones tough. Mix just until combined.
– Using warm butter: Warm butter melts too fast. Use it cold and cubed.
– Not preheating the oven: This can lead to uneven baking. Always preheat before starting.
Serving Enhancements (Clotted Cream, Jam)
To serve your scones like a pro, add some tasty toppings. Clotted cream is a must. It is rich and creamy.
– Jam: Choose your favorite. Strawberry or raspberry works great.
– Fresh berries: Add them for color and freshness.
– Herbal tea: Pairing scones with tea makes it a true English experience.
These serving tips will elevate your scones, making them even more delightful!
Pro Tips
- Chill Your Ingredients: Ensure your butter and milk are well-chilled before use. This helps to create a flakier scone by keeping the butter from melting too quickly in the dough.
- Don’t Overwork the Dough: Mix the wet and dry ingredients just until combined. Overworking the dough can lead to tough scones instead of light and fluffy ones.
- Use a Sharp Cutter: When cutting out your scones, use a sharp round cutter to ensure clean edges. This helps the scones rise better in the oven.
- Experiment with Flavors: Feel free to add citrus zest, nuts, or different dried fruits to your scone mixture for a unique twist on the classic recipe.
Variations
There are many fun ways to make The Queen’s English Scones unique. You can change flavors or even make them gluten-free.
Flavored Scones (e.g., Lemon, Chocolate Chip)
You can add zest or chips for a tasty twist. For lemon scones, add the zest of one lemon to the dry mix. This brightens the flavor. For chocolate chip scones, fold in 1/2 cup of chocolate chips when mixing the dough. Both options create a delightful treat.
Gluten-Free Version
To make gluten-free scones, swap regular flour for a gluten-free blend. Many blends work well for baking. Look for one that includes xanthan gum for better texture. Follow the same steps in the recipe. Your scones will taste just as good.
Savory Scone Variations
Savory scones offer a nice change from sweet ones. Add cheese and herbs for a great flavor. For example, mix in 1 cup of shredded cheese and 1 tablespoon of fresh herbs, like rosemary or chives. These scones pair perfectly with soups and salads. Enjoy them warm, straight from the oven.
Storage Info
Best Practices for Storing Scones
To keep your scones fresh, store them in an airtight container. This helps to keep moisture in and prevents them from drying out. You can also wrap them in plastic wrap before placing them in the container. If you plan to eat them within a day or two, this method works well. For longer storage, consider freezing them.
Reheating Instructions
To reheat your scones, preheat your oven to 350°F (175°C). Place the scones on a baking sheet. Heat them for about 5 to 10 minutes until warm. This will restore their soft texture. You can also microwave them for 15-20 seconds. However, this may make them a little chewy.
Freezing Guidelines
For freezing, let your scones cool completely. Wrap each scone in plastic wrap. Then, place them in a freezer-safe bag or container. They can stay frozen for up to three months. When ready to eat, thaw them in the fridge overnight. Reheat as mentioned above for the best taste.
FAQs
What makes The Queen’s English Scones special?
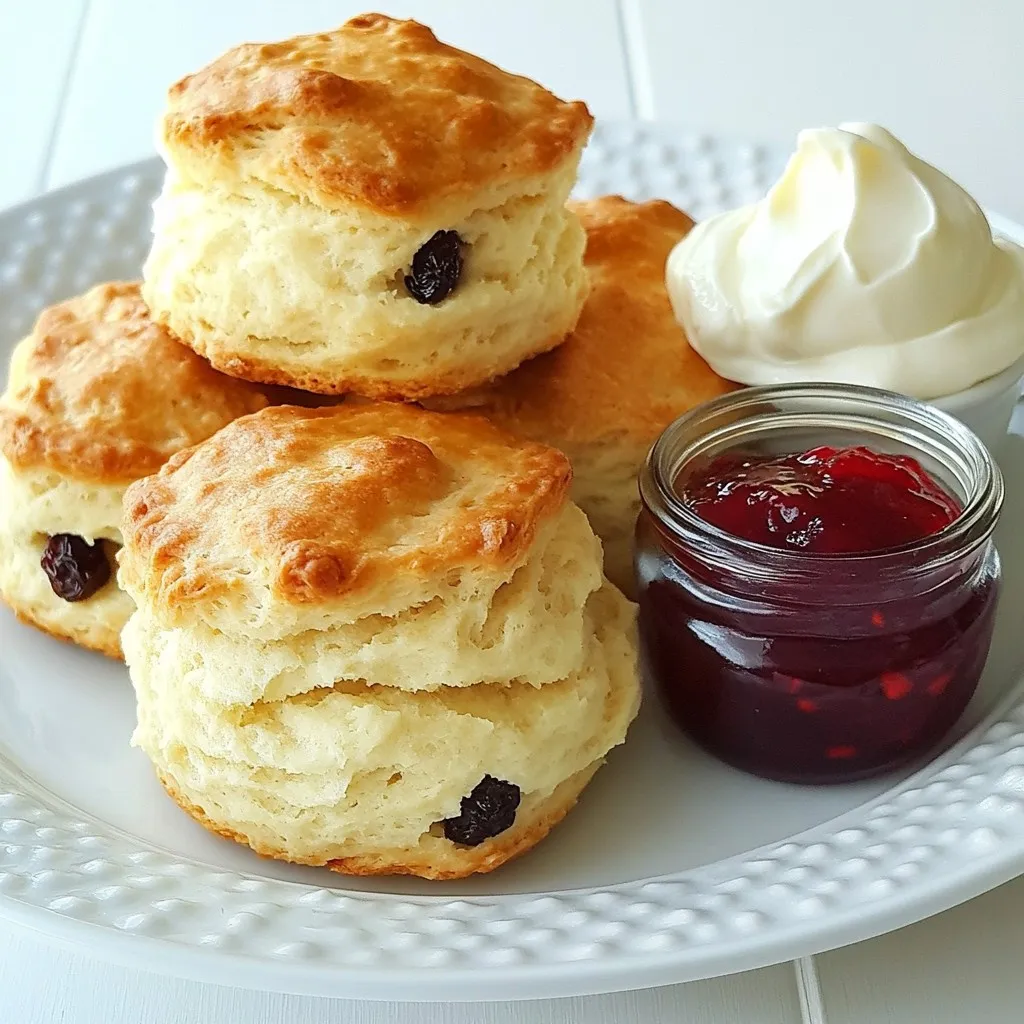
The Queen’s English Scones stand out for their light and fluffy texture. They have a rich flavor that comes from simple ingredients. The combination of butter and milk creates a soft, tender crumb. Adding raisins or currants gives them a sweet twist. This classic recipe is easy to make and perfect for tea time.
How do I know when my scones are done baking?
You can tell your scones are done when they turn golden brown on top. Gently tap the top; it should feel firm. If you insert a toothpick, it should come out clean. Keep an eye on them after 15 minutes. Baking too long can make them dry.
Can I make the dough ahead of time?
Yes, you can make the dough ahead of time. Wrap it tightly in plastic wrap and store it in the fridge for up to 24 hours. When you’re ready to bake, take it out and let it sit for about 30 minutes. This helps the dough relax and makes it easier to roll out.
What is the best way to serve scones?
Serve scones warm for the best taste. Pair them with clotted cream and your favorite jam. Fresh berries add a nice touch and make your plate look pretty. You can also enjoy them with a cup of tea or coffee.
You learned how to make delicious scones from scratch. We covered key ingredients and substitutes, along with easy steps for making and baking. Tips helped you avoid mistakes and enhance flavors. We also shared fun variations to try. Finally, you discovered the best storage and reheating methods.
Now, you can enjoy fresh scones anytime. Happy bakin